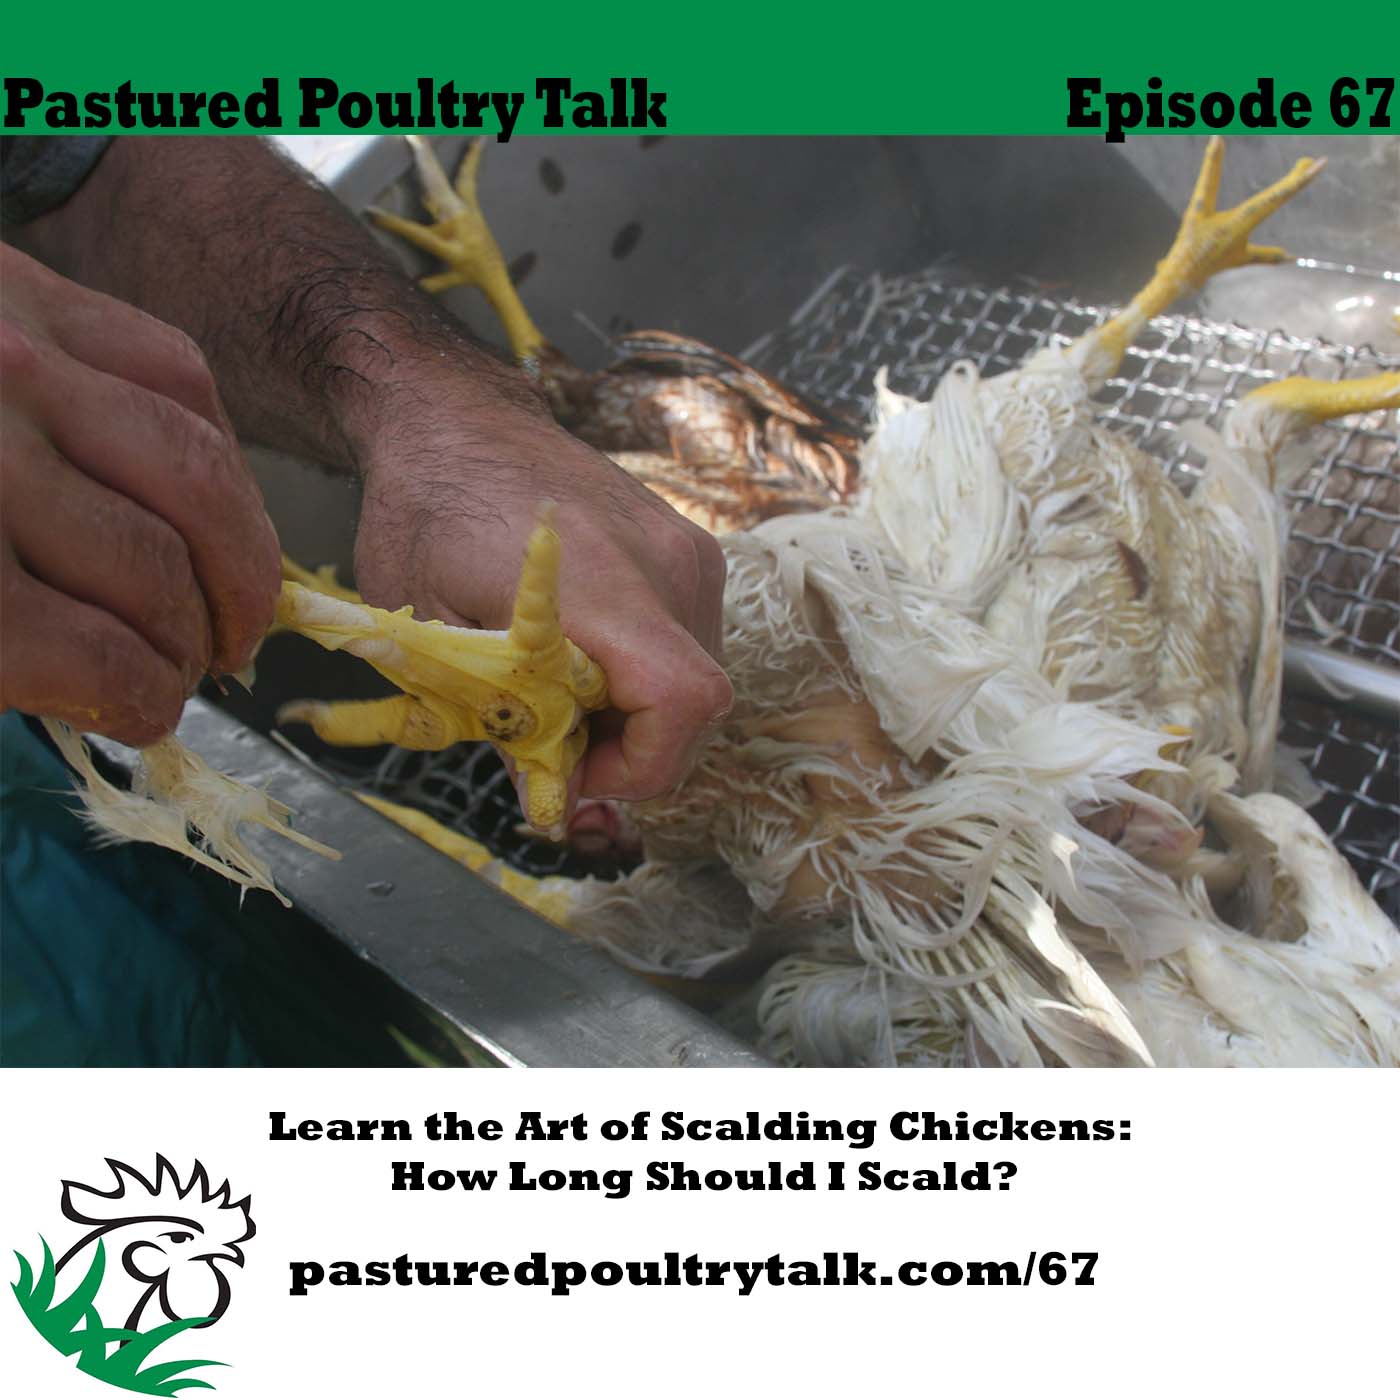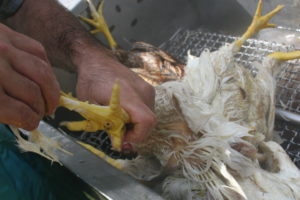

Mike Badger shows you how to check for the perfect scald on a chicken during on-farm processing.
Learn how to scald chickens, turkeys, ducks, or anything you find in your pot of hot water. Many people think plucking is the hardest part of chicken processing, but it’s not. A tough tough pluck starts with a poor scald.
I’m going to explain to you how to scald chickens like a pro by focusing on the technique and the technical aspects of scalding poultry. It’s true that most people can boil water, but unless you’re a plucker salesman, hot water is not enough to achieve a proper scald, especially when you’re using a turkey fry or uncontrolled heat source.
I’ll talk about equipment selection, getting the perfect scald, scald time by bird, the plucker’s role, and I’ll wrap it up with ways to check your scald.
Matching Capacity of Scalding Equipment
So much of your on-farm poultry and chicken processing success starts with selecting compatible equipment, specifically, the capacity of the scalder and the plucker. Using the Poultry Man line of processing equipment, here are some common configurations:
- manual scalder and 23″ plucker or your two hands
- 30″ rotary scalder and 27″ chicken plucker
- 41″ rotary salder and 35″ turkey plucker
How to Scald Chickens Formula – Perfect Every Time
Getting the perfect scald starts with you and takes into account all the environmental factors you might be dealing with (temperature, age of bird, type of bird, scalder water, etc). In the podcast episode, I share a principle based approach to scalding chickens. The next time you have problems getting the results you expect, come back to this formula.
The how to scald chickens formula is Time + Temperature + Agitation + Testing = Perfect Scald.
There is an inverse relationship between time and temperature. The hotter the water, the less time you need to scald. The more time the chicken stays in the hot water, the less scald time you need. If you understand this sequence, you can scald any bird using any setup you’re confronted with. And you’ll look like the chicken scalding boss.
Agitation is the real secret. Do you know why people dunk chickens up and down in the scald water? There’s no magic in the dunking, I promise you. The “magic” created through dunking is agitation. It’s the agistation that allows the scald water to penetrate and loosen the feather follicles. The only thing you achieve with dunking chickens up and down is an uneven scald with unscalded chicken feet.
When you aren’t using a rotary scalder, I explain a more even, predictable, and easier way to scald chickens in any pot of hot water just by dropping the birds in the pot and stirring. The Pastured Poultry Talk listeners who have tried this method report a fundamental transformation in their scalding and plucking results over the dunk and pluck method.
How Long Should You Scald Chickens?
 If you understand the time and temperature relationship of scalding, the next logical question is, “how long should you scald that broiler, layer, turkey, or duck for?” Using the formulaic approach I provide, you can answer this question on your own. And as you gain experience, you’ll look at birds and just know the starting time. Here’s my guidelines for different types of poultry based on a rotary scalder with water at 147 degrees.
- Cornish Game Hens (4 weeks): 40 seconds
- Broilers (7 weeks): 45 to 50 seconds
- Broilers (8 to 10 weeks): 60 seconds
- Cockerels and pullets (12 to 20 weeks): 60 to 90 seconds
- Spent Layers (> 70 weeks): 90 to 120 seconds
- Turkeys (16 to 26 weeks): 90 to 120 seconds
If you’re immersing the birds completely and agitating, cut all the above numbers in half to get your starting points.
Checking the Scald
How do you get the perfect scald and pluck, you might wonder? The final component of the scalding formula is to check the scald on the birds. This is especially critical in the first batches of chickens of the day or if you’re custom processing birds from different sources, of different ages, and of different breeds. Checking your scald frequently also allows you to fine tune your scald to the environment factors, such as ambient temperature or even a dropping water level or a ever increasingly dirty water or fluctuating water temperature.
I share two ways to test the scald. Pull a wing feather out or my personal favorite is to pull the skin off the middle toe. If the skin easily slides off, it’s ready. See the picture above.
Understanding the Poultry Plucker’s Role
The plucker calls out for attention because it takes the tedious part of the process and makes it look easy. As an educated scald operator, you know the secret. A plucker is nothing without a perfect scald. If you scald properly, chickens can be hand plucked in minutes, not hours.
How to Scald a Chicken in Your Backyard
Using the chicken scalding techniques in this episode of Pastured Poultry Talk, you can scald any bird, anywhere, with any equipment. In this video, I show you how to apply the scald techniques I teach you to a turkey fryer. In full disclosure, I think turkey fryers are horrible vessels for scalding chickens, but this is my point: When you have the right technique, the tools only make you more efficient, as I demonstrate in this video.
Pastured Poultry Talk Headlines
- Muscovy ducks: I just set 6 Muscovy duck eggs in my incubator for a late April hatch. Wish me luck.
- Wooden crates for decoration. I sell very nice wooden chicken crates, and they’ve turned out to be very popular with set designers for TV shows, theaters, and movies. Some of my crates will appear in the movie set of the Irishman.
- Turkey webinar with FACT. If you missed the webinar, “Profitable Turkeys in All Seasons,” you can find a replay here: Scroll down to the archives.

1 comment on “Learn the Art of Scalding Chickens: How Long Should I Scald?”